
Getting started: creating your class
Before Zippy can grade work, draft a lesson, or answer questions about a student, it needs one thing: a class with students in it. This guide walks through that first setup, start to finish. It takes a few minutes, and you only do it once per class.
Here is the order:
- Work through the onboarding checklist
- Create your first class
- Open your class home
- Add your students
- You are ready to grade
1. Start with the onboarding checklist
When you first sign in, Zippy shows a short checklist. Creating a class is the one required step, and it unlocks everything else: grading, lesson generation, and the Zippy AI assistant.
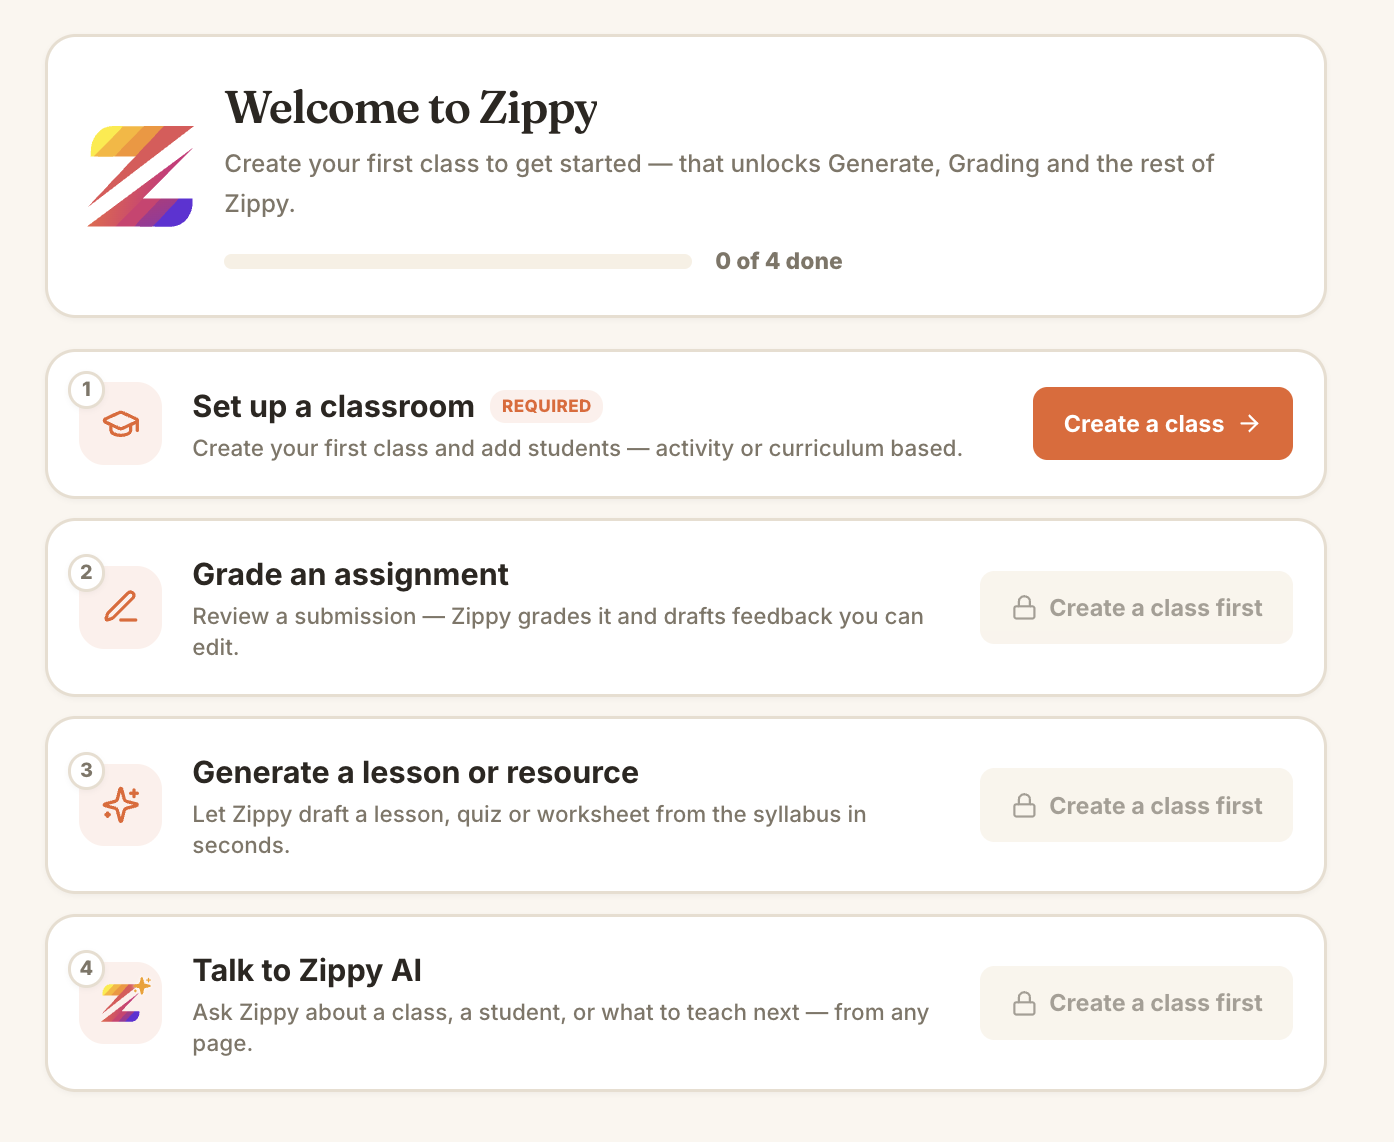 Only "Set up a classroom" is active at first. Grading, Generate, and Zippy AI unlock once your first class exists.
Click Create a class to begin.
2. Create your first class
Give the class a name. Subject and grade are optional, but adding them helps Zippy align rubrics and suggestions to the right level later on.
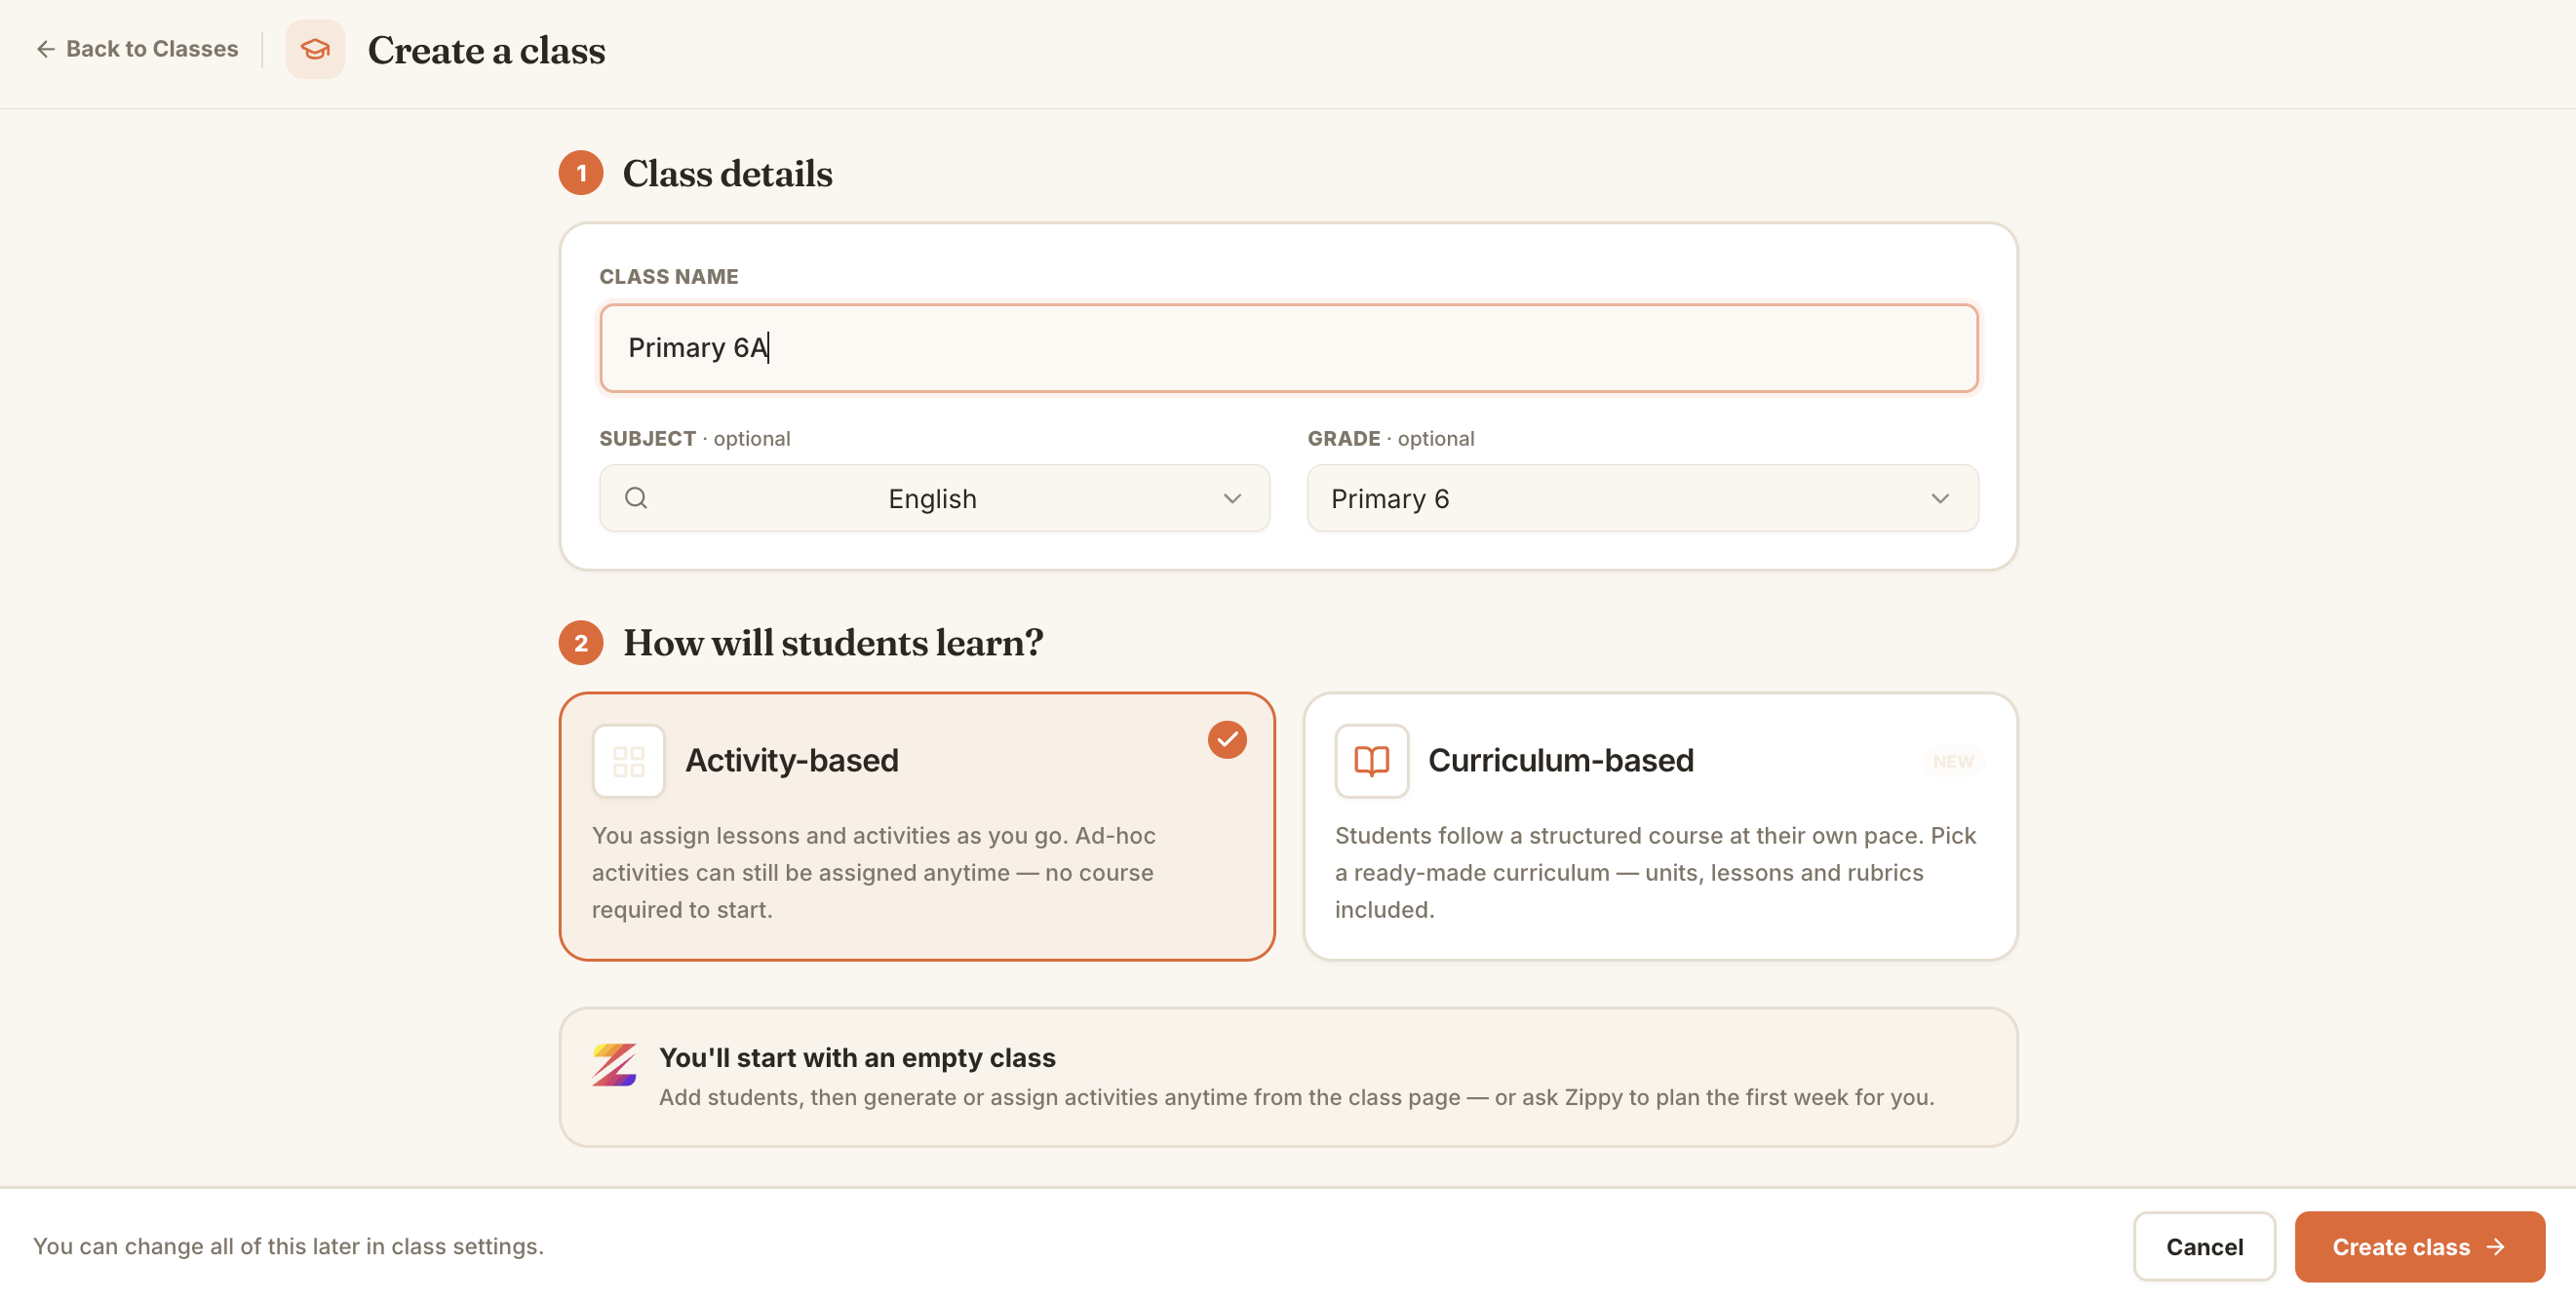 A class named "Primary 6A", set to English and Primary 6, using the Activity-based option.
Then choose how students will learn:
- Activity-based — you assign lessons and activities as you go. Nothing is locked in, and you can assign ad-hoc activities anytime. This is the simplest way to start.
- Curriculum-based — students follow a structured course at their own pace, using a ready-made curriculum with units, lessons, and rubrics included.
If you are not sure, pick Activity-based. You can change any of this later in the class settings. Click Create class when you are done.
3. Open your class home
Your new class opens to its Overview. It starts empty: no students, no units, no activities yet. Along the top you have Overview, Gradebook, Students, and Settings, and the left rail gives you Generate, Grading, Library, and more.
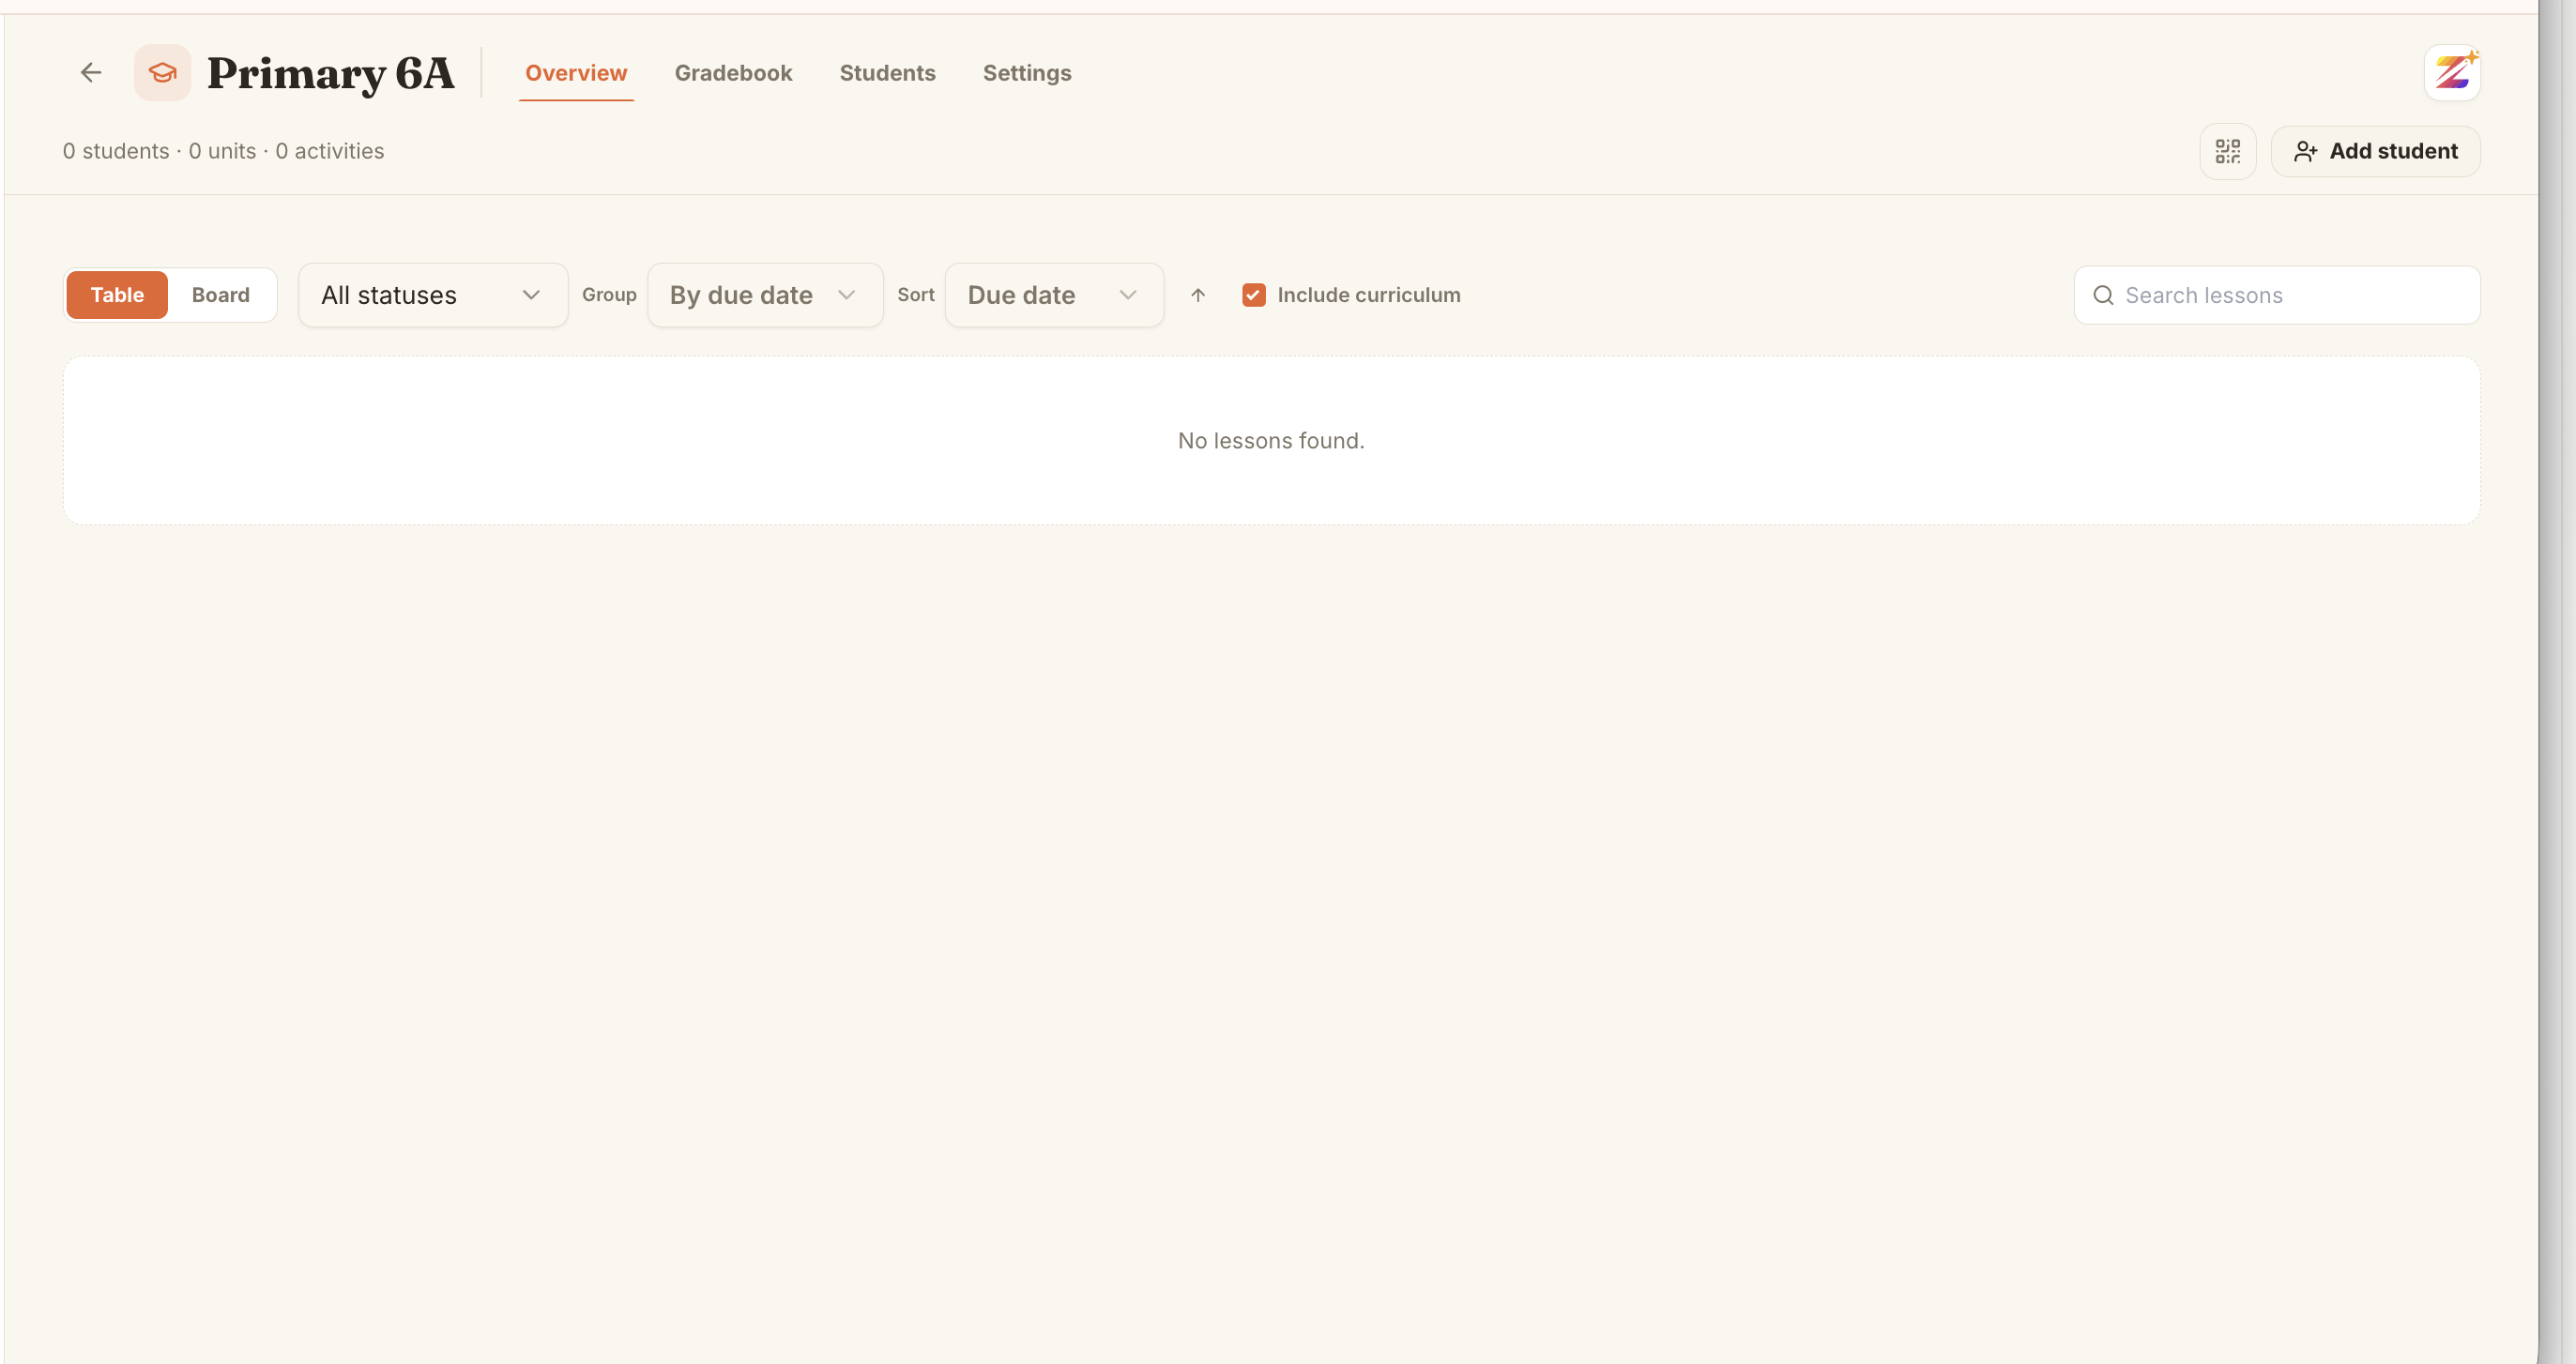 A fresh class. The next step is to add students using the Add student button.
Click Add student to build your roster.
4. Add your students
You have a few ways to add students. Open the Bulk roster tab to add a whole class at once:
- Upload a class list image or a CSV. Drop in a photo of a class list and Zippy AI extracts the names for you, or upload a CSV where the first row is treated as a header if it has Name or Email columns.
- Paste names straight from a list.
You can also use Invite by email or Share link if you would rather have students join themselves.
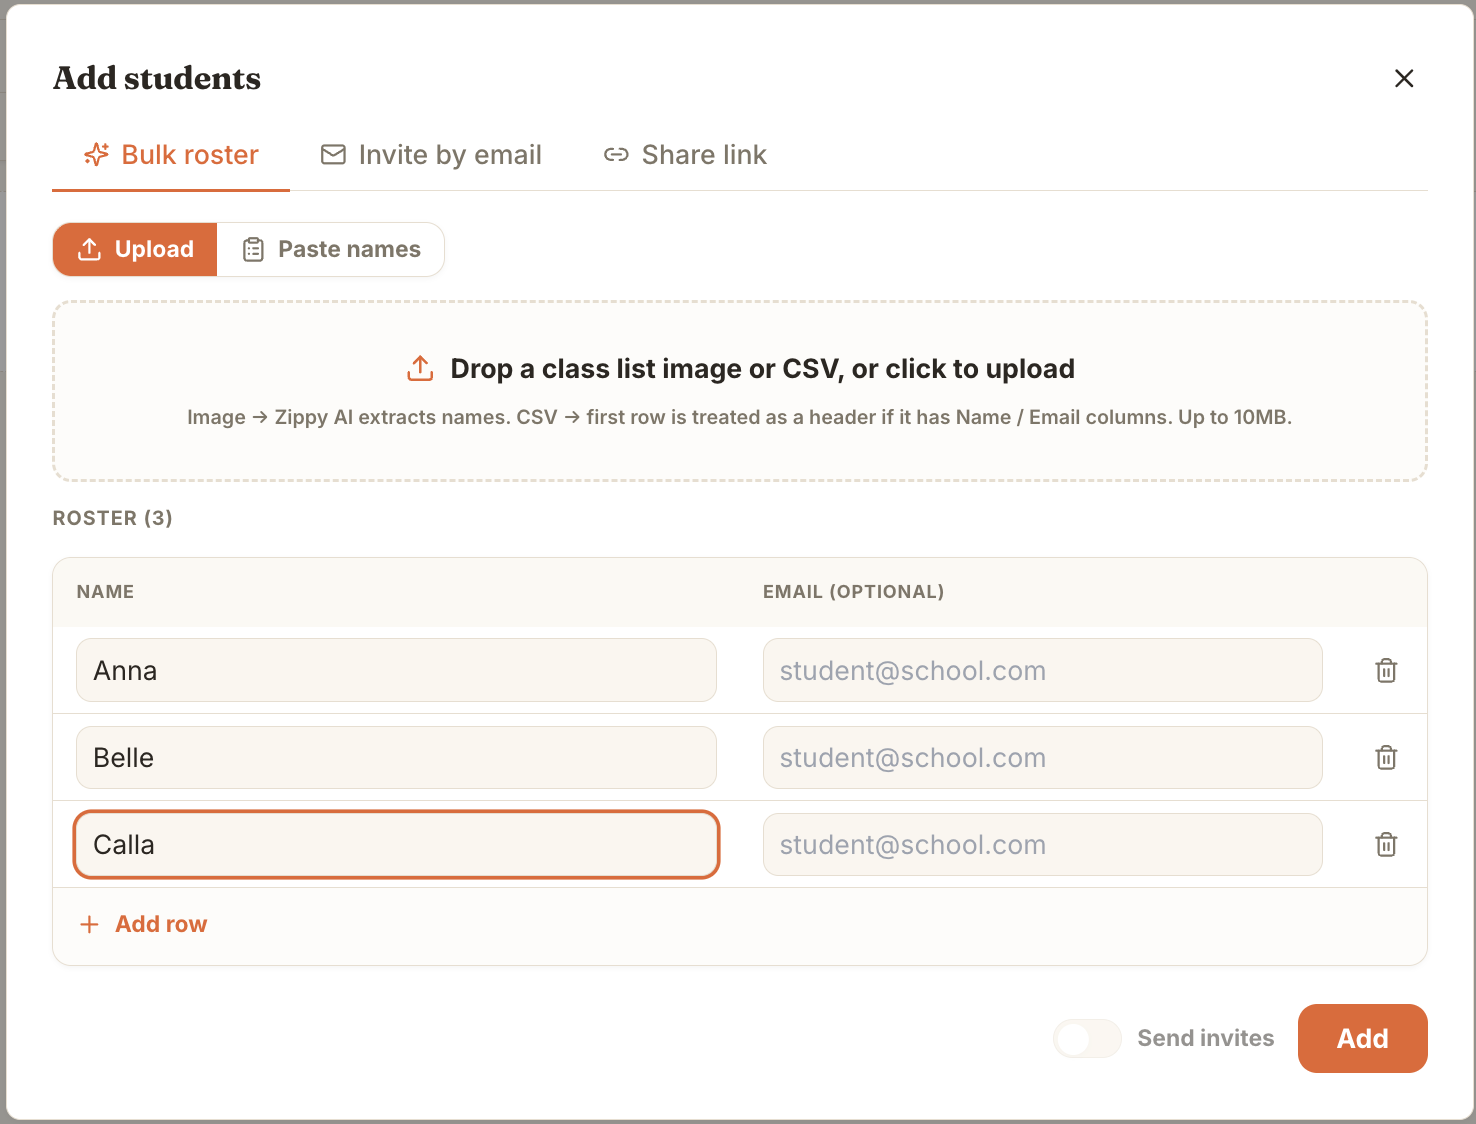 Add students by uploading a list, pasting names, or typing them in row by row. Email is optional.
Review the roster, add or remove rows as needed, then click Add. Email addresses are optional, and you can turn on Send invites if you want students to get an invitation.
5. You are ready to grade
That is it. Your class now has a roster, and every student starts on track. From here you can grade submissions, generate lessons and resources, and ask Zippy about any student.
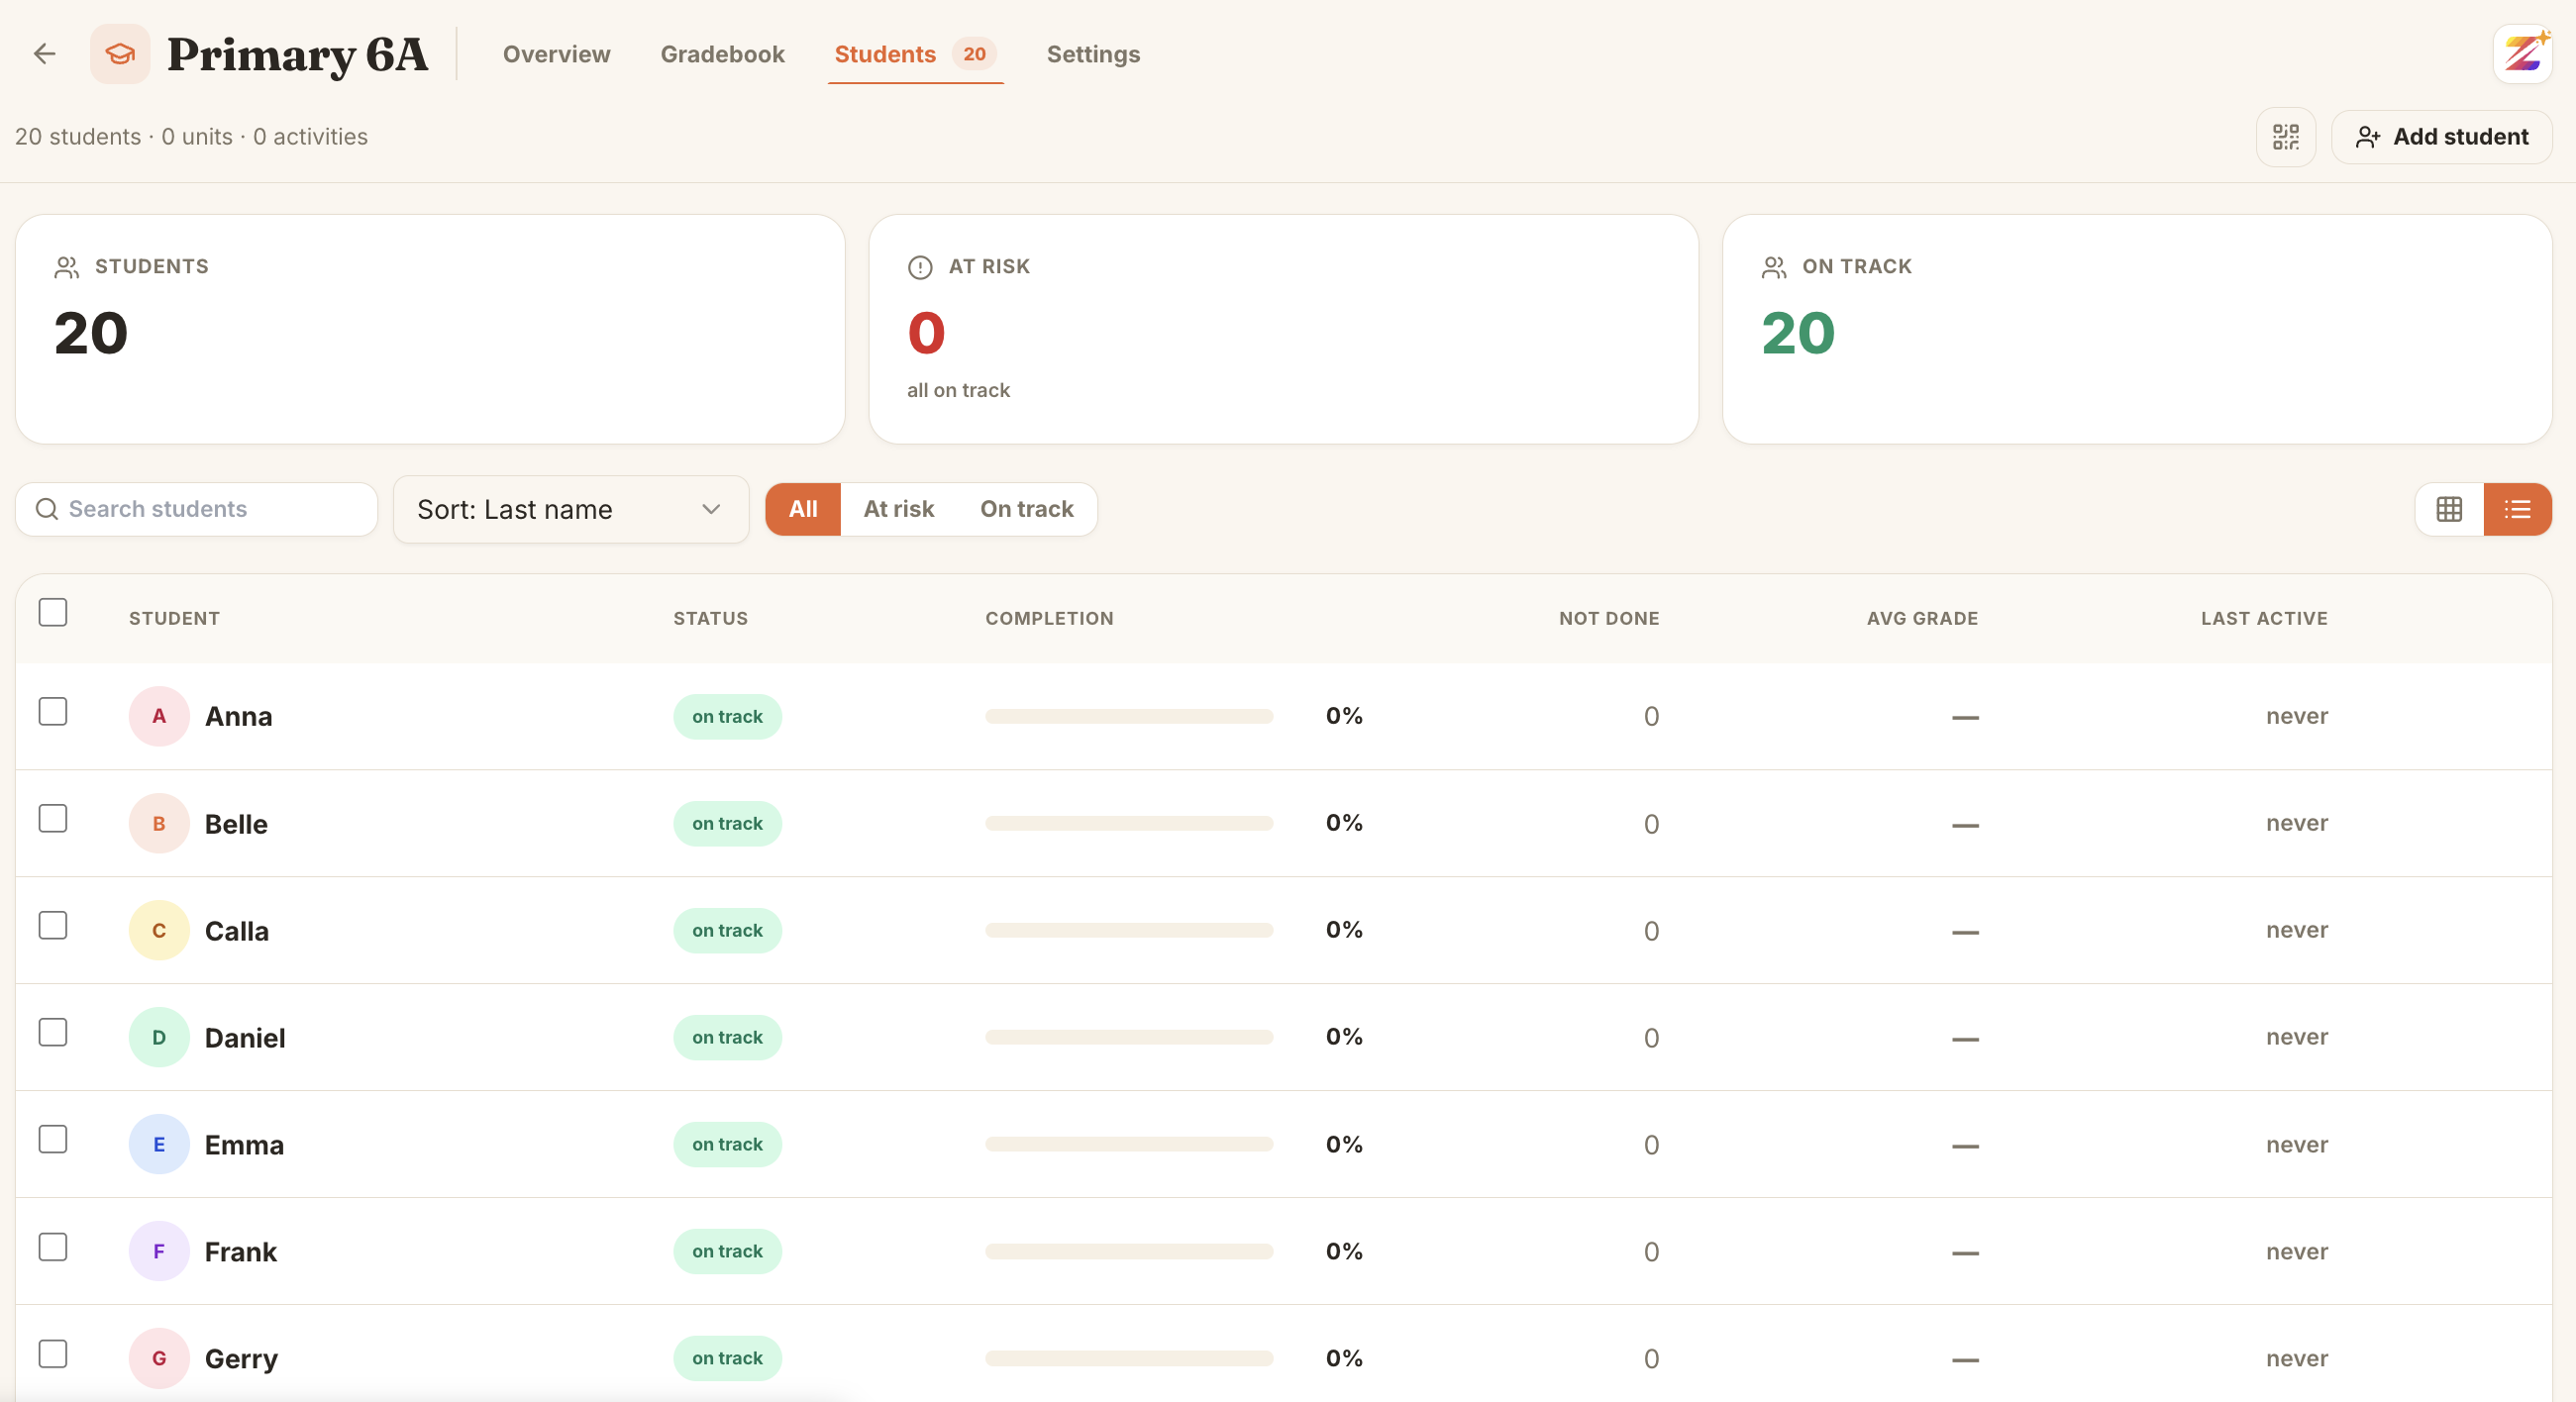 A complete roster. Grading and Generate are now unlocked for this class.
What's next
- Bulk grading a class set — import a whole set of submissions and let Zippy take the first pass.